How to Adjust the Herman Miller Aeron Chair: Complete Setup Guide
Unlock every ergonomic feature to make the "Hermès of chairs" fit you perfectly
By the Furniblog Editorial Team·July 13, 2026·4 min read
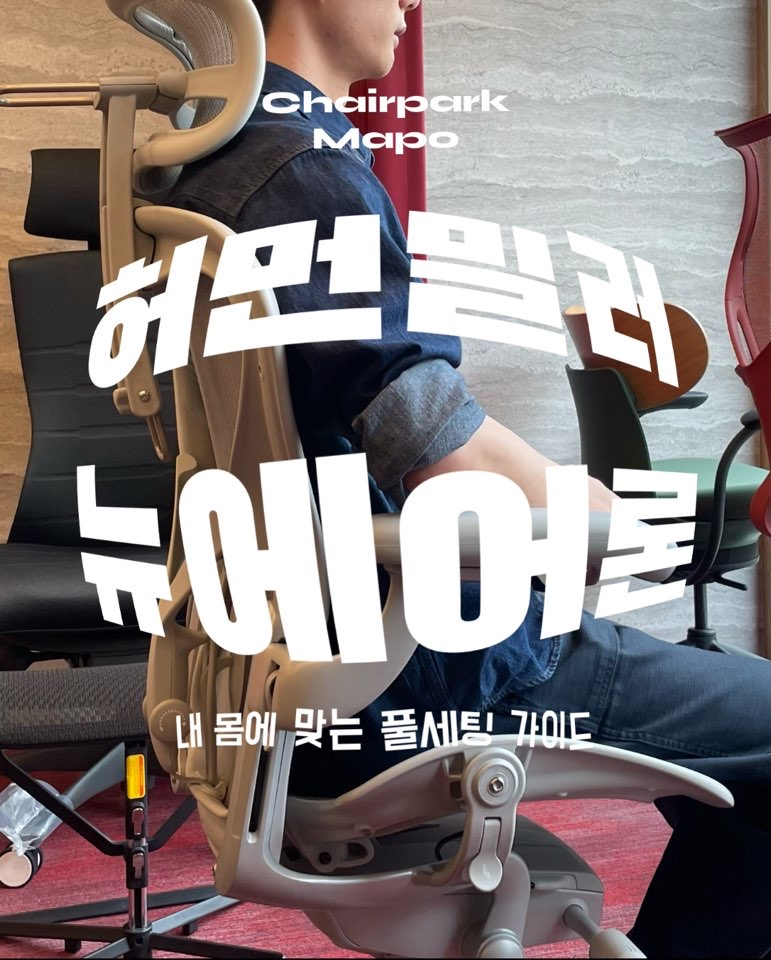
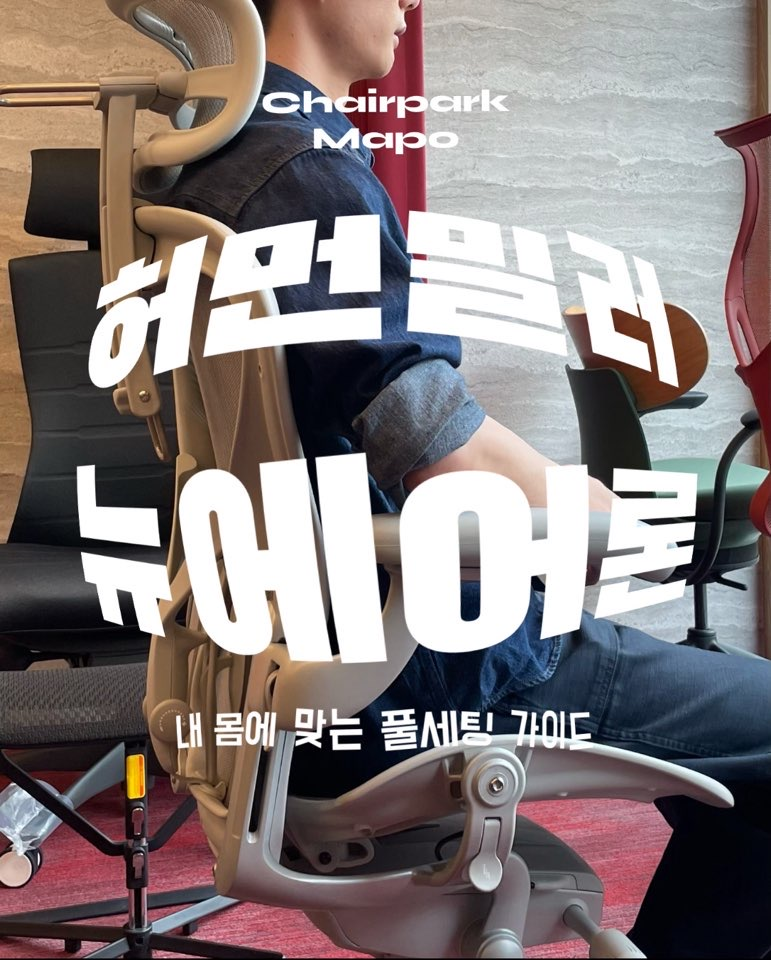
The Herman Miller Aeron is one of the most celebrated ergonomic chairs in the world—often called the "Hermès of office chairs." But owning one is only half the story. To truly experience what makes the Aeron extraordinary, you need to adjust it properly to fit your body.
Many Aeron owners never explore the chair's full range of adjustments and end up sitting in a generic, one-size-fits-none position. This guide walks you through every key control on the Aeron (specifically the fully loaded model) so you can dial in a setup that supports your posture, reduces fatigue, and transforms how you work.
Right Side Controls: Seat Height and Tilt Tension
Start with the levers and knobs on the right side of the seat, just under the armrest. These control two foundational adjustments.
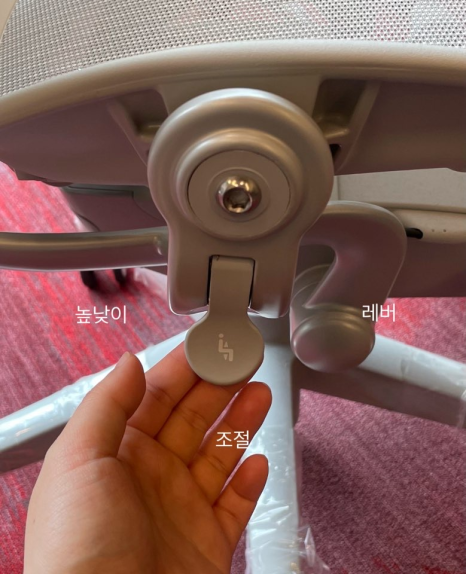
1. Seat Height (Pneumatic Lever)
The elongated lever on the right side raises and lowers the seat. While seated, lift your weight slightly and pull the lever up to raise the chair; stay seated and pull to lower it.
Target position: Your feet should rest flat on the floor with your knees at roughly 90 degrees. This is the starting point for all other adjustments.
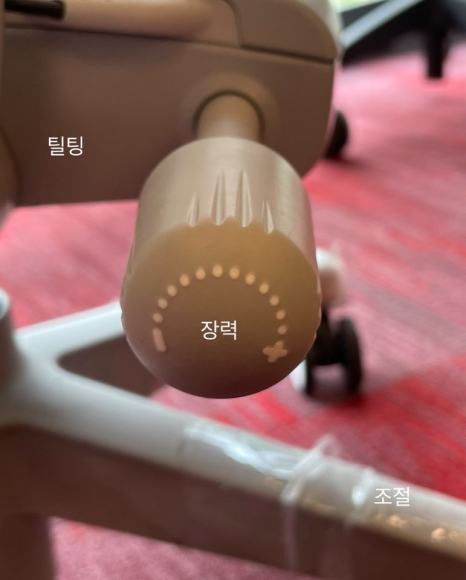
2. Tilt Tension (Round Dial)
The large round knob protruding from the right side adjusts how much resistance you feel when reclining.
Turn clockwise (+): Increases tension—the backrest becomes firmer and harder to recline
Turn counterclockwise (−): Decreases tension—the backrest tilts back more easily
Set the tension so you can recline smoothly without your feet lifting off the floor. The goal is controlled movement, not a sudden tip backward or a locked-in-place feeling.
Left Side Controls: Tilt Range and Forward Tilt
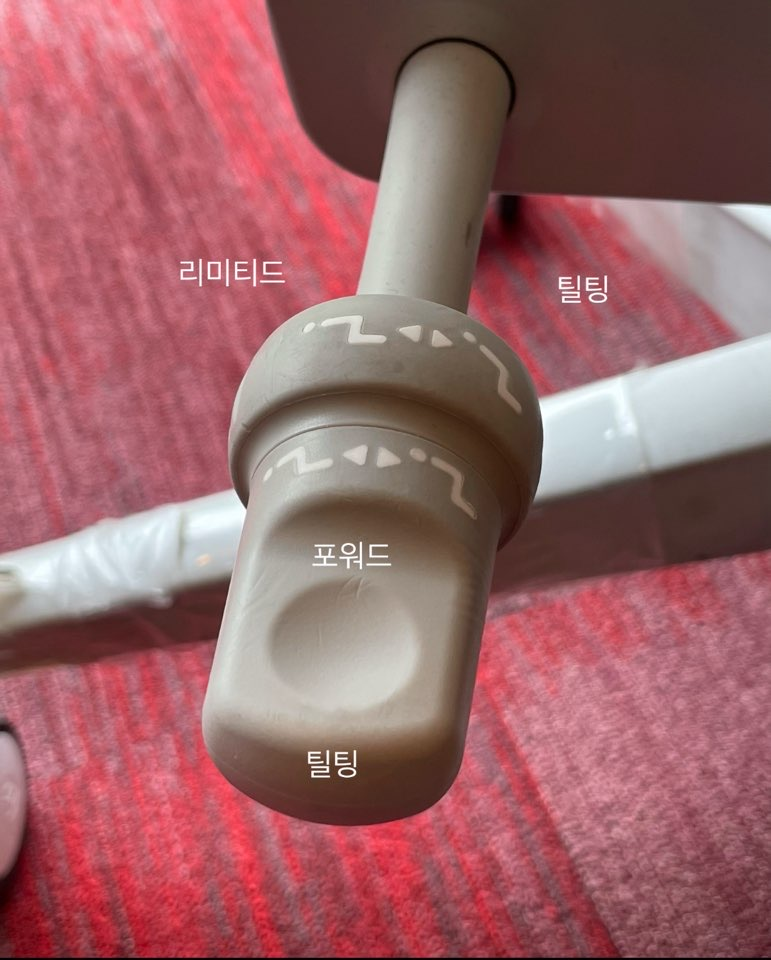
The left side features a dual-dial control that manages two advanced tilt functions—one of the Aeron's standout features.
3. Tilt Limiter (Inner Dial)
The inner dial sets how far back the chair can recline. Turn it backward to allow a deeper recline (rest mode), or forward to limit recline and keep the chair more upright (focus mode).
This is perfect for switching between concentrated work and relaxed reading or video calls.
4. Forward Tilt (Outer Dial)
This is a lesser-known feature that can be a game-changer for anyone who leans forward while typing or reading.
How to engage it: Lean back slightly, then turn the outer dial all the way forward. When you sit upright again, the entire seat pan tilts forward by about 5 degrees. This subtle angle encourages a more open hip angle and can help prevent slouching and forward head posture.
If you find yourself hunching toward your monitor, try enabling forward tilt—it actively supports better alignment.
Backrest: Lumbar Support Adjustment
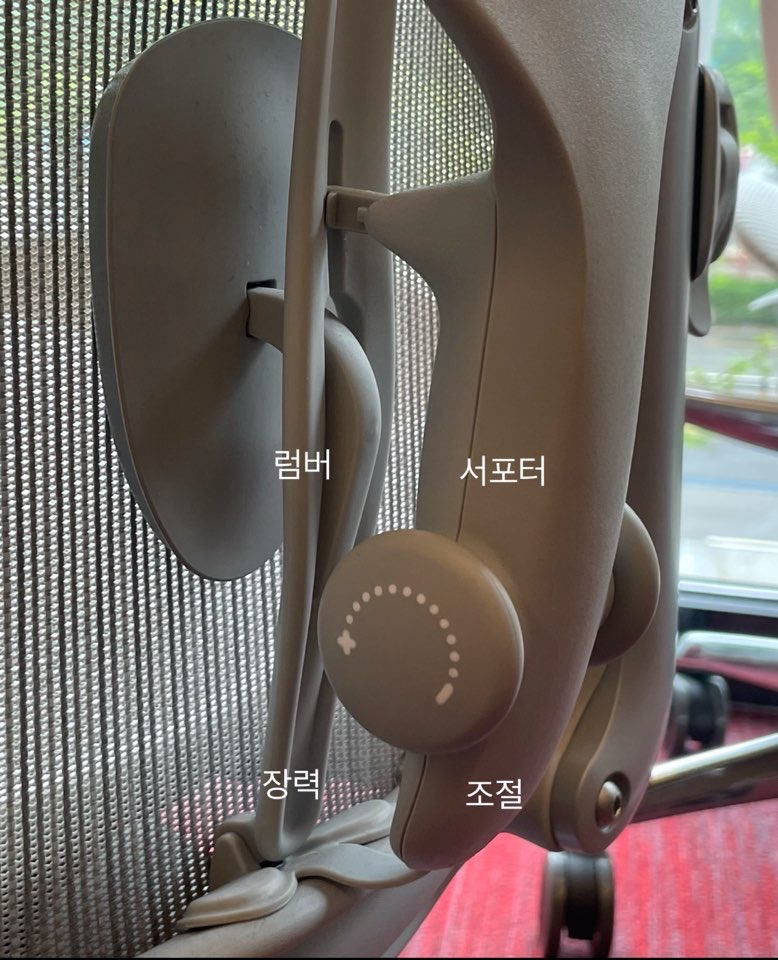
Flip the chair around and look at the back of the backrest. You'll see the Y-shaped PostureFit SL support (or the older lumbar pad, depending on your model) with two small dials on either side.
5. Lumbar Tension
These dials control how much the lumbar support presses into your lower back.
Turn forward (+): Increases support—more pronounced lumbar curve
Turn backward (−): Decreases support—softer, more relaxed feel
Sit all the way back in the chair and adjust the dials until the support cradles the natural curve of your spine. When set correctly, your lower back should feel gently held, not pushed or ignored.
Armrest Adjustment
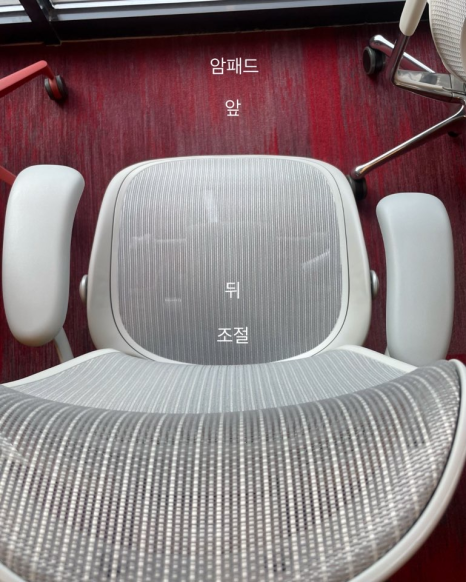
The Aeron's armrests adjust in height and depth, helping you maintain relaxed shoulders and supported forearms.
6. Height and Position
Height: Lift the lever at the back of the armrest, then grasp the metal frame (not the pad) and move the armrest up or down. Release the lever to lock it in place. Your elbows should rest at roughly 90 degrees with your shoulders relaxed.
Depth: The armrest pads slide forward and backward. Push or pull them to position the pads where your forearms naturally rest while typing.
Properly adjusted armrests take load off your neck and shoulders—especially important during long work sessions.
Finding Your Perfect Setup
Ergonomics isn't one-size-fits-all. The Aeron gives you the tools; you supply the fine-tuning. Here's a quick checklist to guide your setup:
Sit all the way back so your pelvis is against the backrest
Adjust seat height so feet are flat and knees are at 90°
Leave about a fist's width of space between the front edge of the seat and the back of your knees
Set tilt tension so you can recline smoothly without effort or instability
Adjust lumbar support to cradle your lower back
Position armrests to support your forearms without shrugging your shoulders
Experiment with forward tilt if you work leaning toward a screen
It may feel unfamiliar at first—especially if you've been sitting in poorly adjusted chairs for years—but once you find your settings, the Aeron's reputation starts to make perfect sense.
Why Proper Adjustment Matters
The Herman Miller Aeron is engineered to adapt to a wide range of body types and work styles, but that engineering only pays off when you take the time to use it. A well-adjusted Aeron supports healthy posture, reduces pressure points, and helps you stay comfortable whether you're working for two hours or ten.
If you've invested in an Aeron—or are considering one—don't leave its potential untapped. Spend ten minutes going through these adjustments, and you'll discover why this chair has remained an icon for more than two decades.

Furniblog may earn a commission from links in this post, at no extra cost to you. See our affiliate disclosure.