How to Test an Office Chair Before You Buy: 5 Essential Fitting Points
Skip the guesswork—master the ergonomic checklist for showroom visits
By the Furniblog Editorial Team·July 7, 2026·5 min read

Many people assume that testing an office chair is simple: sit down, decide if it feels comfortable, and you're done. But a chair that feels plush during a brief showroom sit can become the source of chronic back pain after eight hours at your desk.
The difference between a good chair and the right chair lies in proper ergonomic fitting—and most buyers skip this step entirely. This guide walks you through a five-step fitting process that will help you choose a chair that truly supports your body, whether you're visiting a showroom or testing chairs at home.

Before You Visit: Check Your Outfit
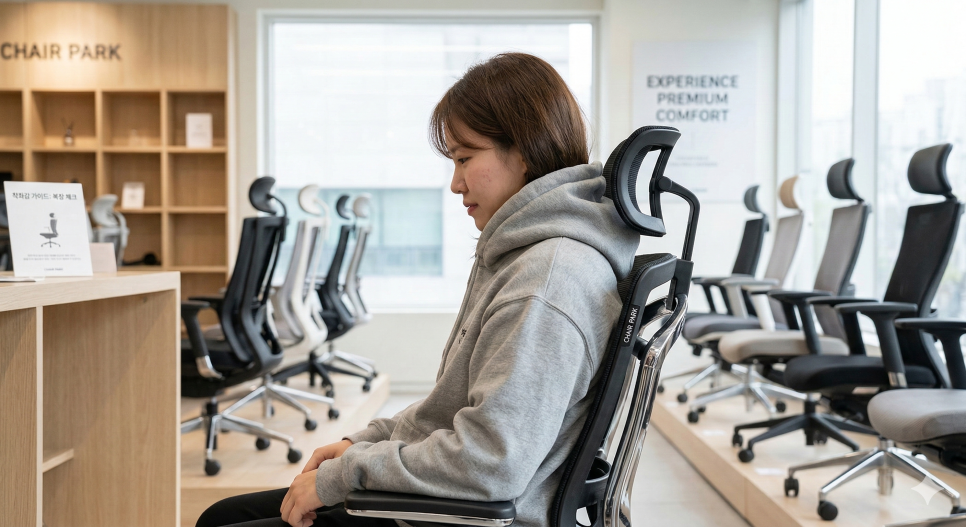
Before we dive into the fitting steps, here's an often-overlooked tip: avoid wearing hoodies or bulky clothing when you test chairs.
Thick fabric and hoods create bulk between your back and the chair's backrest, making it nearly impossible to assess whether the lumbar support, upper back cushion, or headrest properly contours to your spine. For the most accurate fit, wear a slim-fitting shirt or light sweater. The goal is to feel how the chair conforms to your body, not your clothing.
Step 1: Set the Seat Height (The 90-Degree Rule)
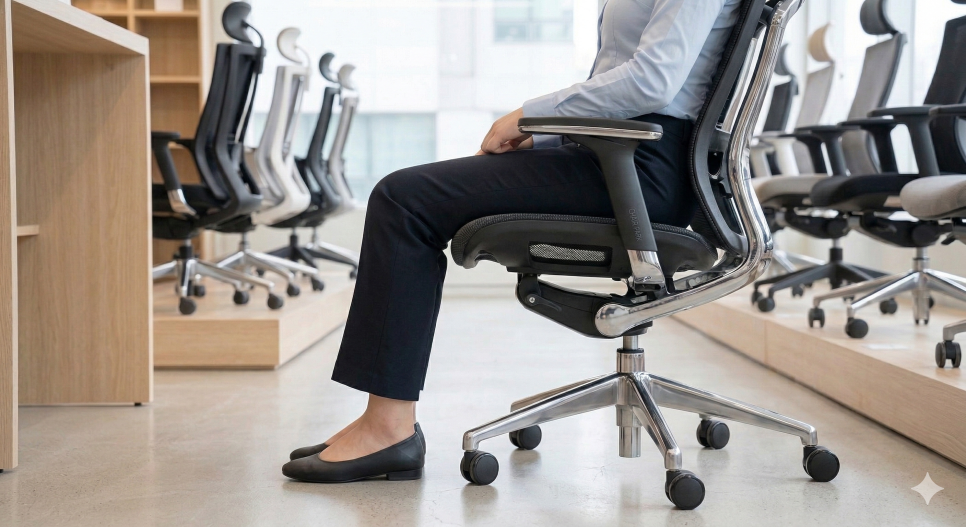
Every proper chair fitting starts from the ground up. When seated, your feet should rest flat on the floor with your full sole making contact—no tiptoeing, no dangling.
Check point: Your knees should form an angle of approximately 90 to 100 degrees.
Why it matters: If the seat is too high, the front edge can compress the blood vessels in your thighs, causing numbness or discomfort. If it's too low, your body weight concentrates on your hips and lower back, increasing pressure and fatigue. Don't forget to account for your shoe height when adjusting—flats versus heels make a real difference.
Step 2: Adjust Seat Depth (The Two-Finger Gap)
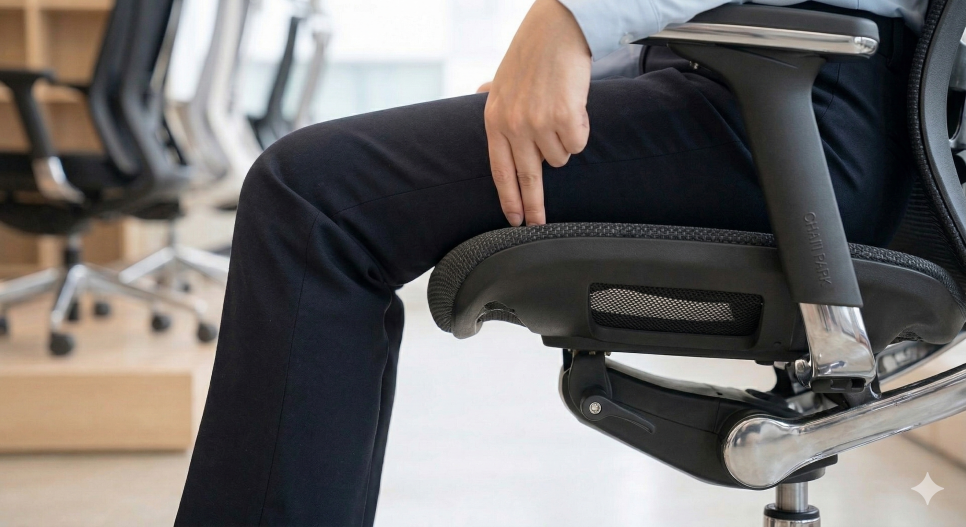
Once your seat height is set, slide your hips all the way back until your lower back is flush against the backrest. Now check the seat depth.
Check point: There should be a gap of about two to three fingers' width between the front edge of the seat and the back of your knees (the popliteal area).
Why it matters: If the seat pan is too long and presses into the back of your knees, it restricts circulation. If it's too short, your thighs won't be fully supported, reducing stability and comfort. Many premium chairs—including popular models like the Steelcase Leap V2 and Herman Miller Aeron—offer seat depth adjustment. Use it.
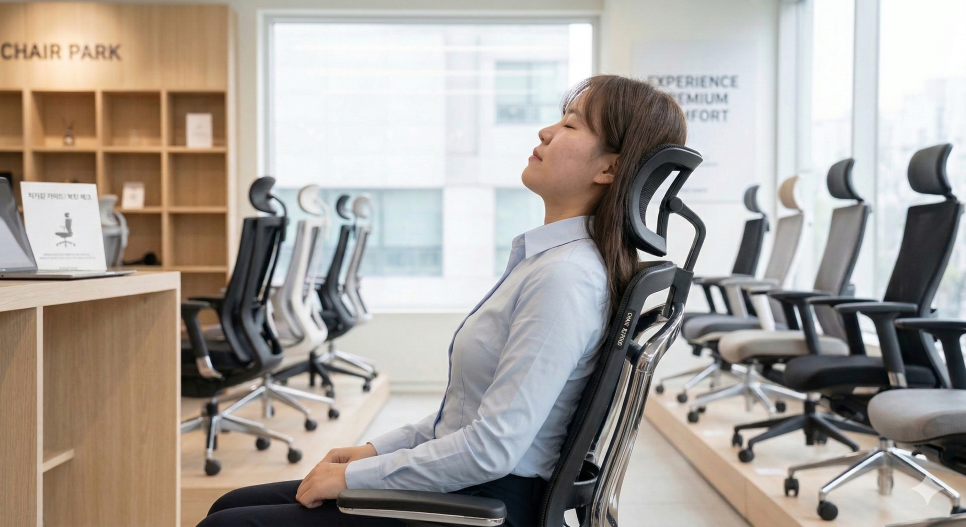
Step 3: Position the Headrest (Protect Your Cervical Curve)
Your neck supports the weight of your head all day long, and a well-positioned headrest can significantly reduce strain on your cervical spine.
Check point: The headrest should cradle the natural curve at the base of your skull and upper neck (the cervical lordosis), not push your head forward or sit too low on your shoulders.
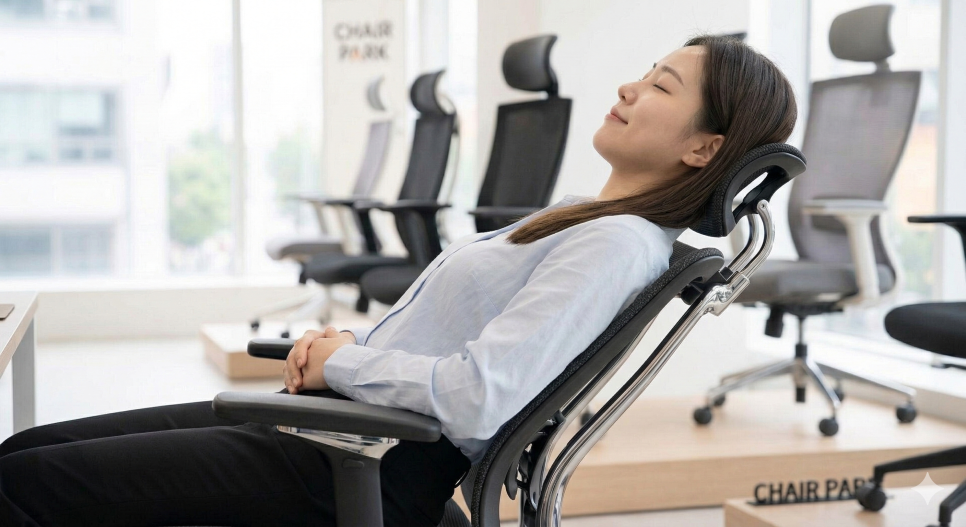
Why it matters: A headrest that's too high or angled too far forward can promote forward head posture (tech neck). One that's too low may press uncomfortably on your shoulders. Test the headrest in both upright working position and reclined resting position to ensure it works in multiple postures.
Step 4: Dial in the Armrests (Relieve Shoulder Tension)
Armrests aren't just a place to rest your arms—they're critical for offloading weight from your shoulders and upper trapezius muscles, which are common sources of tension and pain.
Check point: When your elbows rest on the armrests, your shoulders should remain relaxed and level—not hunched up or reaching down.
Why it matters: If armrests are too high, they force your shoulders into a shrugged position, creating tension. Too low, and they offer no support at all. Modern ergonomic chairs often feature 4D armrests that adjust in height, depth, width, and angle. Mimic your actual working position—hands on keyboard and mouse—and adjust the armrests so your forearms are supported without lifting your shoulders.

Step 5: Test Lumbar Support and Recline Tension (Dynamic Support)
This is where the chair proves whether it can support you through a full workday. Lumbar support and recline mechanism are the heart of an ergonomic chair.
Check point: First, adjust the lumbar support so it fills the inward curve of your lower back. Then lean back and test the recline. The chair should tilt smoothly and support your weight without requiring you to push hard.
Why it matters: A good lumbar support maintains the natural S-curve of your spine, preventing slouching. The recline tension should match your body weight—not so loose that you feel like you're falling backward, and not so stiff that reclining requires effort. Chairs like the Steelcase Gesture and Herman Miller Embody are known for their sophisticated recline and lumbar mechanisms. Don't hesitate to ask showroom staff to help you fine-tune the tension.

Why This Process Matters
An office chair isn't just furniture—it's a health investment. Spending a few extra minutes to methodically test each adjustment can mean the difference between daily discomfort and long-term ergonomic support.
When you visit a showroom, don't just sit and stand. Work through these five steps in order. Take your time. Recline, type on an imaginary keyboard, shift your weight. A chair might look beautiful and feel soft, but unless it supports your unique body in all the right places, it's not the right chair for you.
By following this guide, you'll be equipped to move beyond surface-level impressions and make a confident, informed choice—one that your back, neck, and shoulders will thank you for, hour after hour, day after day.
Furniblog may earn a commission from links in this post, at no extra cost to you. See our affiliate disclosure.